How to professionally Re-Veneer a cabinet.
Re-Veneering a Cabinet, The easy vacuum way
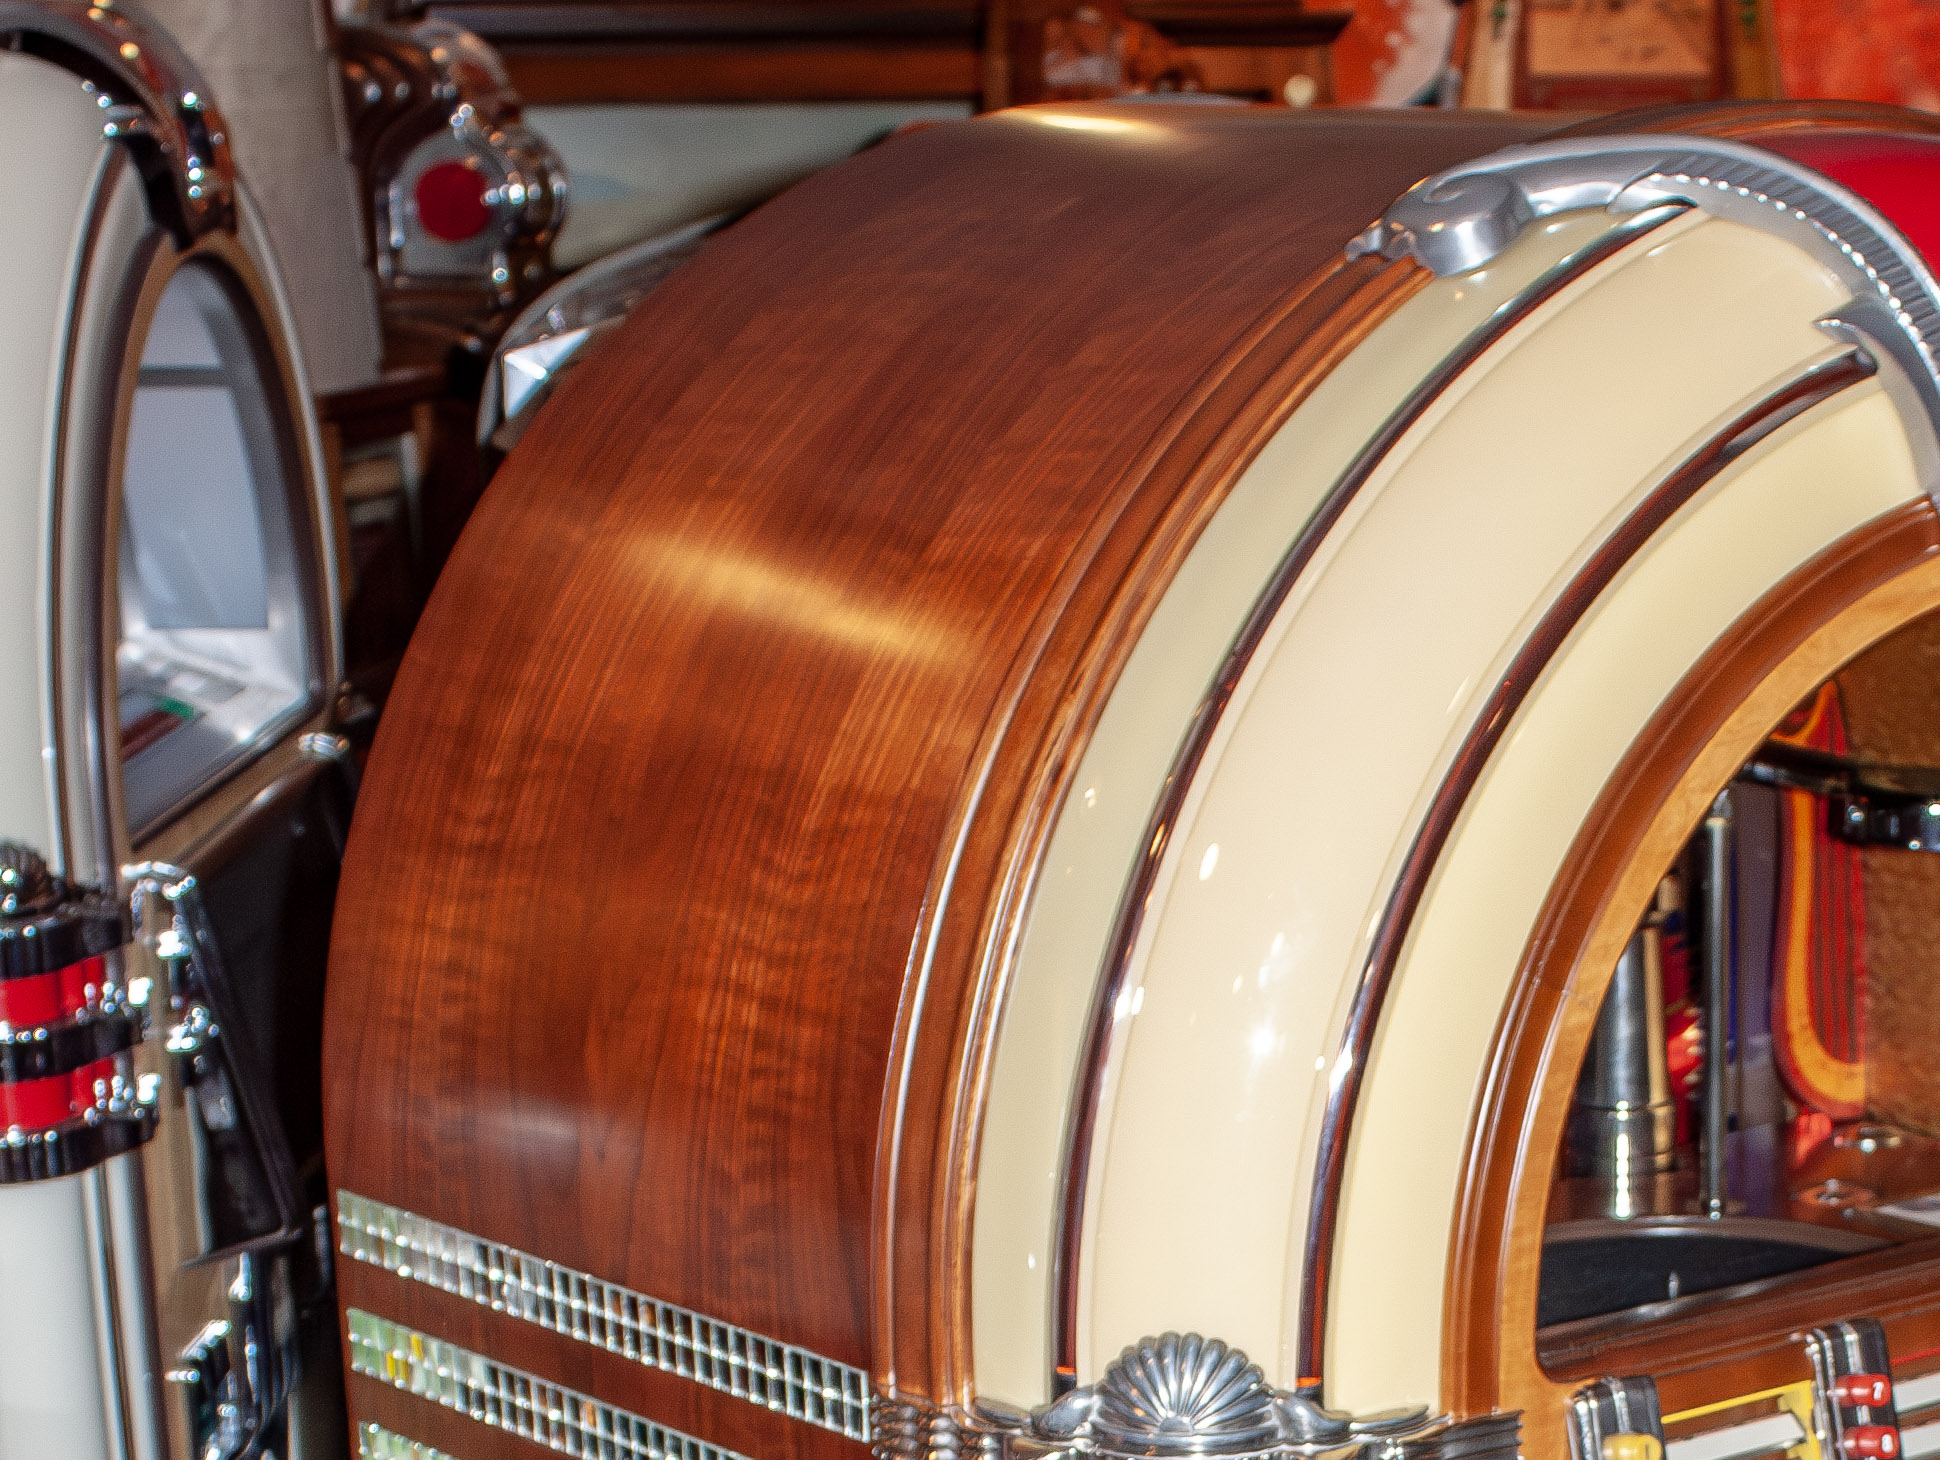
At first blush the jukebox cabinet looks beautiful and the mechanism is strong. Plus it plays well. It’s an excellent original, except for those damn chunks out of the veneer right on the top front and left side. Make a guess: What does that do to the value? Those small, missing pieces of finished wood can devalue a machine by hundreds, maybe even over a thousand dollars, just because they ruin the overall appearance and suggest that things aren’t right outside or in. So what’s it worth to you to have that cabinet re-veneered and looking good? Let’s say you have three or four machines like that — what’s that worth?
The answer is a modest investment in equipment and some of your time. And once you have the equipment on hand, and some experience, you’ll find that a veneer job can enhance your machines and even make money for you. It’s an evergreen deal. And it puts you in a class by yourself and keeps you from turning out second-rate veneer jobs on potentially great machines. You’ve see it before — lumpy, bumpy, bubbly veneers, usually paper-thin and flexible, showing the whereabouts of gobs of contact cement. You get that result when you use the wrong material for the job. These problems come from the fact that flex-veneer was never meant for large surfaces, and contact cement was not designed for veneer use. Yet these patch jobs are quite common because the professional alternative has long been a large and expensive veneer press that is both impractical or inaccessible to the coin machine restorer.
But that was then and this is now, and in the world of the right now there is an almost foolproof method available to us that is convenient, compact and affordable. I’m talking about the vacuum press. This is a system that uses a large plastic or urethane bag and a vacuum pump to suck out all of the air around a veneer panel to create pressure on the project. Once fitted over the work a system like this is capable of applying an even pressure of up to 2,000 pounds per square foot. Compare that to the normal atmospheric pressure of 14 pounds of force on everything in all directions. As air is drawn out of the bag by the pump a partial vacuum is created, applying force on all surfaces of the bag. It’s like laying lead bricks around a complicated shape and keeping them in place as long as you need. This simple idea can be used for bending and lamination operations without the complicated and cumbersome matching tools that wereneeded with the old style veneering presses. There are a number of vacuum systems to chose from among several suppliers with prices ranging from $350 to $1,200.
PICKING THE RIGHT BAG
The vacuum bags are usually made of vinyl or polyurethane. They can be almost any size, with most large enough to handle a four-foot-by-eight-foot sheet of veneer. The bag must have an air tight closure system so that the vacuum is maintained under pressure. Thickness ranges from 2 to 30 mil., with the thicker bags lasting longer as they resist rips and tears — but they cost more. You can make your own by using storm window vinyl, sealing the edges with PVC solvent or vinyl pool patch material.
NEXT COMES A PLATER
A platen is a flat plate or surface that exerts or receives pressure. You must make a platen that will sit inside the bag and act as a receiver for the vacuum line connector, doubling as a platform for your work. 3/4-inch particle or fiber board will do the job. 1/8-inch grooves need to be cut into the board to form a grip across the top of the platen. That way the vacuum hose will connect to the grid and the bag to promote the free flow of air in the bag. When you open the bag you’ll put your work on the platen.
THE PUMP FOR THE JOB
Two types of pumps do the job well; venturi and rotary-vane. The difference is the desired level of usage and economics. Venturi pumps need an air compressor, so if you have one the Venturi system is less expensive. The rotary-vane pump is self contained and works like an air compressor in reverse. The really hot setup is an automatic rotary-vane. This system will automatically shut off when the vacuum is high enough to do the job, and will kick in again if and when the vacuum falls below the minimum level, a veritable hands-on approach. Of course, if you had a perfect leakproof bag and a perfect seal you’d never worry. Your pump would only turn on once!
THE MESSY PART: GLUE
Although contact cement is widely recommended and used for veneering, professional woodworkers and veneer specialists strongly advise against it. Contact cement was designed for plastic laminates and produces a soft glue line not suitable for woodworking. It can be attached by some finishes and will soften and lift with heat. The glue of choice is a two-part urea resin. It comes in liquid form and is mixed with a powdered catalyst. The cure time can be somewhat controlled by the proportion of the mix. Urea resin glue creates a rigid glue line that works well with wood veneer. This results in a permanent bond unaffected by heat and the finish applied to the veneer.
Yellow (PVA) and white (Alaphatic) glues are also good choices for veneer work. Although they aren’t recommended for oily or delicate woods such as the more expensive veneers, these are good general purpose glues that are easy to use and provide good adhesion. Epoxy is another good choice. It’s a two-part liquid mix with the advantage of not introducing any moisture into the wood or substrate. Two disadvantages: It can cause excessive bleed-through and is expensive.
APPLICATION, AND THE WRAP-UP
Big Rule: Apply the glue evenly on the substrate only and not on the veneer. If you put the glue on the veneer it will absorb the moisture and curl up, making it extremely difficult to handle. This trick alone will make the difference between a slick job and a messy one. How much glue? There’s an easy way to determine the amount to use. Cut three samples of your veneer, about a square foot each, and spread a light coat on one, a medium coat on the second and a heavy coat on the third. Put them all in the press, gluing them to a test substrate similar to your project. After curing, check the level of bleed-through, going with the spread rate that gives you the least. And don’t assume that every job is the same. Repeat this test for every veneer project you work on. The results will be your reward.
Once you’re through let everything dry. A lot. When your project is all set, refinish and polish that cabinet and take pride in the fact that you just made a so-so machine a classic gem. If you’re selling it, charge accordingly. A project or two will pay for that pump, and then you’ll be operating on material costs only. Just like the professionals know, good tools pay their way in a hurry. They also make the job as easy as it can be.

